Let’s start with a list of things you need:
- printHAT 2 control board
- Raspberry Pi 0/1/2/3/4 (RPi 2/3/4 are recommended for a smooth user experience)
- micro SD card (8GB or more)
- wrecklabOS software package (pick Mainsail or OctoPrint distribution)
IMPORTANT
On Raspberry Pi 4 we strongly recommend you use forced air cooling to cool both the Pi and the printHAT 2. Checkout our 3D Printed Enclosures!
Let’s Get Started
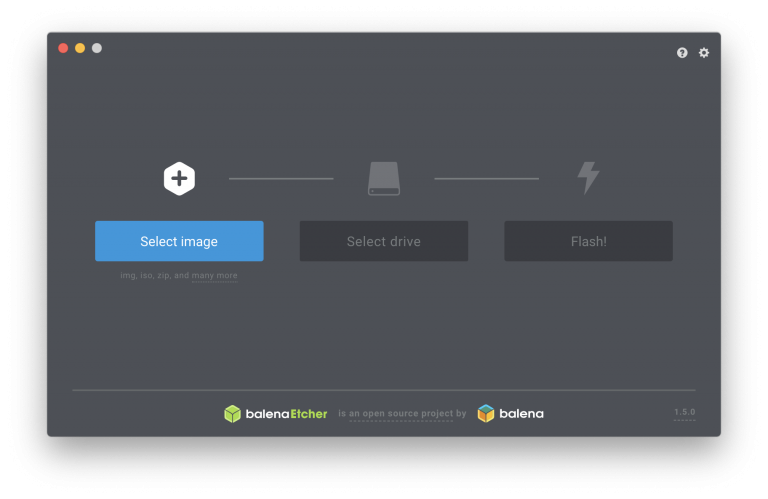
Download the wrecklabOS image (wrecklabOS-xxx.zip file) from the official repository and use Etcher to flash the .img file onto the the SD card as recommended in the Raspberry Pi official documentation. In short:
- Download Etcher and install it
- Insert your SD card
- Open Etcher and select from your hard drive the wrecklabOS .img file you want to write onto the SD card
- Select your SD card
- Review your selections and click ‘Flash!’