Make sure to check out our YouTube channel where you can find tutorials to guide you trough the process! Let’s start now, what you need:
- printHAT control board
- Raspberry Pi 0/1/2/3/4 (RPi 2/3/4 are recommended for a smooth user experience)
- micro SD card, at least 8GB
If you use a Raspberry Pi 4, we strongly recommend you use forced air cooling to cool both the Pi and printHAT. We have custom designed an optimized enclosure that you can download and 3D print for free.
Let’s Get Started
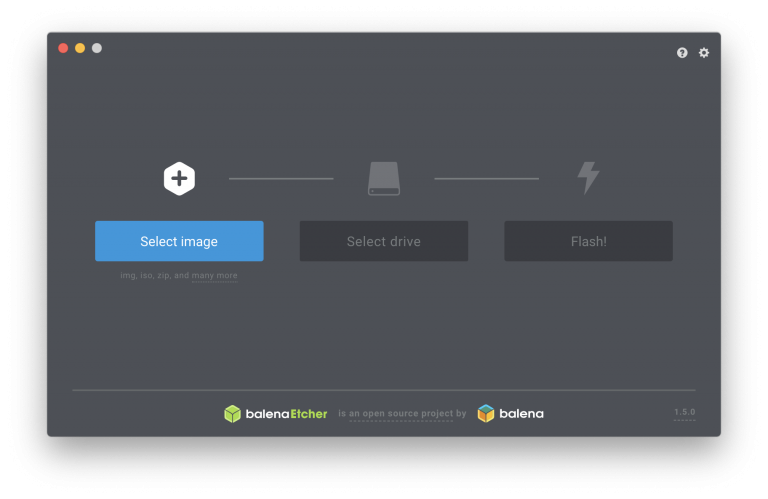
Download the SD image from the official repository and use Etcher to flash the image onto the the SD card as recommended in the Raspberry Pi official documentation. In short:
- Download Etcher and install it
- Insert your SD card
- Open Etcher and select from your hard drive the wrecklabOS .img file you want to write on the SD card
- Select your SD card
- Review your selections and click ‘Flash!’ to begin writing data to the SD card