Initialization of the board
During the first boot the printHAT image takes care of installing all the required software. Connect the printHAT to the Raspberry Pi following the procedure:
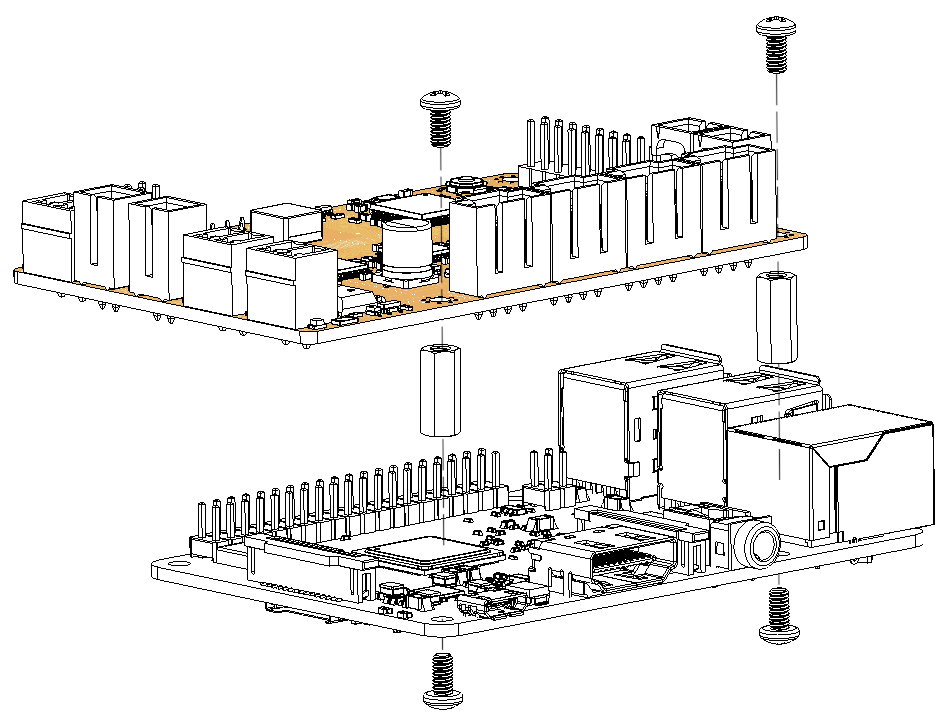
- Connect the board making sure that the printHAT connector is aligned with the right end of the Raspberry Pi header (see picture)
- Mount the spacers as shown on the picture
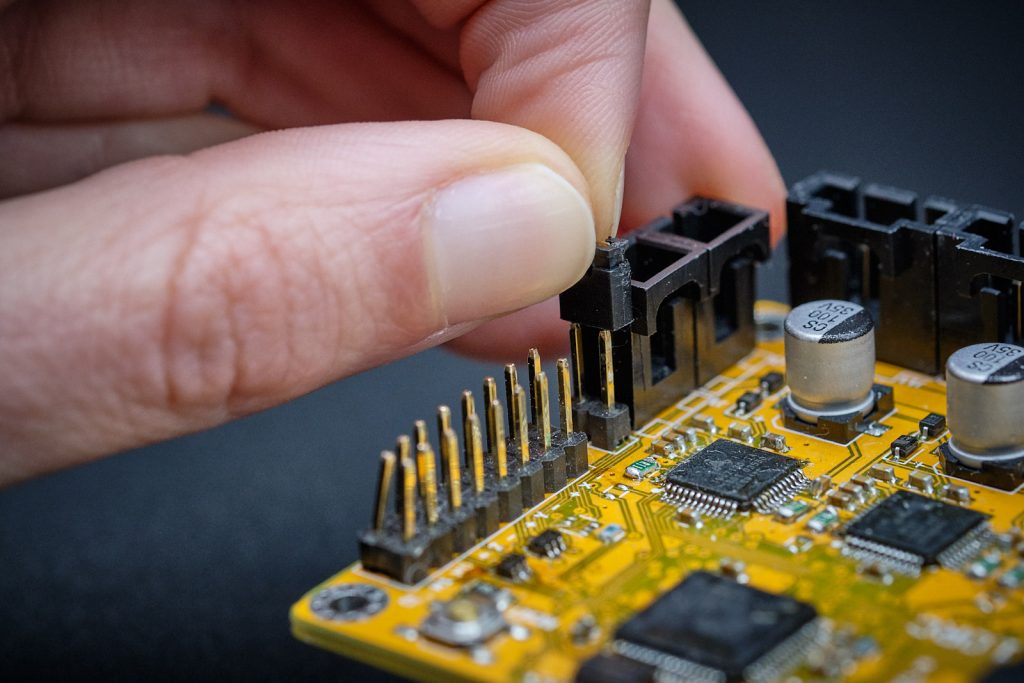
- Mount the jumper on the BOOT pins
- Power the Raspberry PI via the Micro USB port with a suitable power supply
- The initialization starts automatically and it takes a couple of minutes.
- Upon completion the Raspberry Pi goes into shutdown and the ACT led stops blinking. Now it’s possible to power off the Raspberry Pi.
- Remove the BOOT jumper
Raspberry Pi 4
If you are using a Raspberry Pi 4 you need to reset the microcontroller at boot to make sure it gets programmed correctly. When you reach step 3 in the list above, proceed as follows:
- Keep the RESET button pressed on the printHAT
- Power the Raspberry Pi via the Micro USB port with a suitable power supply
- As soon as the green LED starts blinking, release the RESET button
- After, the initialization process continues as described in step 5 above
 Fig.1 - printHAT 1 and Raspberry Pi stack alignment
 Fig.2 - printHAT 1 spacers installation
 Fig.3 - printHAT 1 boot jumper location